Oracle Database 12c now includes property graphs, a great feature to analyze relationships in your data, such as finding the most influential people in a social network or discovering patterns of fraud in financial transactions. Graph analysis can do things that the relational model can’t do – or can’t do without very complicated queries and expensive table joins. For someone who has never touched a property graph before it can be a little intimidating to get started. It doesn’t help that most examples seem to start big and kind of assume that you already know what you are doing. So for the people who are interested in exploring the new property graph functionality of the Oracle Database but don’t have a clue how to get started I thought it would be helpful to put an example together that assumes you don’t know anything.
For our example I am using the Database Virtual Box Appliance / Virtual Machine located here – http://www.oracle.com/technetwork/database/enterprise-edition/databaseappdev-vm-161299.html
We need to do 4 things to our VM to make it ready for this example
- On the VM I have downloaded Eclipse – https://www.eclipse.org/downloads and installed the JAVA IDE for developers. This should take about 5 minutes to complete.
- You have to install a patch – (Latest as of the time I wrote this) Patch 27118297: NEED A WORKAROUND FOR WLS BUG 27078467- but it’s not like an oPatch thing it’s just replacing the contents of a directory. The ReadMe walks you through it and it’s simple, takes about 10 minutes. I’m sure there will be a VM soon that doesn’t require this but for now that’s what you need to do.
- Download Cytoscape – http://www.cytoscape.org/ – I’m using 3.5.1 but anything after 3.2 should work. This should take about 5 minutes to complete.
- Get the Cytoscape App for Oracle Database – http://www.oracle.com/technetwork/database/options/spatialandgraph/downloads/index-156999.html and install. Also simple, takes about 10 minutes. Follow the directions and it will work.
So assuming you can accomplish those tasks the rest is pretty simple and actually gets fun.
On our database we use the SCOTT / TIGER user. As system I ran a simple anonymous function to grant access to HR tables –
declare
cursor tabs is select table_name from dba_tables where owner ='HR';
sqlstr varchar(100);
begin
for tab in tabs
loop
    sqlstr:='grant select on hr.'||tab.table_name||' to scott';
    execute immediate sqlstr;
end loop;
end;
Now we need to prepare some data for inserting into a property graph. To do this we will create 2 views.
The first view gives us employees and some associated attributes
/*********************************************/
--Create a view from HR sample schema employees table that has attributes
create or replace view  employees as
select e.employee_id,e.first_name||' '||e.last_name as full_name,d.department_name,e.salary,e2.first_name||' '||e2.last_name as manager_name,e.hire_date
,j.job_title,e.manager_id
from hr.employees e
left outer join hr.employees e2 on e2.employee_id =e.manager_id
join hr.jobs j on j.job_id=e.job_id
join hr.departments d on  d.department_id=e.department_id
where e.department_id is not null order by e.manager_id;
/*********************************************/

The second view creates the relationships between employees.
/*********************************************/
--Create a relationship view from employees table that has vertex relationships
create or replace view employeeRelation as
select to_number(to_char(e.manager_id)||to_char(e.employee_id)) as relationID,
e.manager_id as source,
e.employee_id as destination,
'manage' as relationType,
to_date(e.hire_date) as hire_date,
e.manager_name
from employees e
union all
select relationID,
emp1,
emp2,
relationType,
to_date(hire_date) as hire_date ,
manager_name
from(
select to_number(to_char(a.employee_id)||to_char(b.employee_id)) as relationID,a.employee_id as emp1, b.employee_id as emp2,
'colleague' as relationType,case when a.hire_date>b.hire_date then a.hire_date else b.hire_date end as hire_date
,a.manager_name
from employees a
join hr.employees b on b.manager_id=a.manager_id and a.employee_id<>b.employee_id --and a.employee_id<b.employee_id
order by a.employee_id);
/*********************************************/
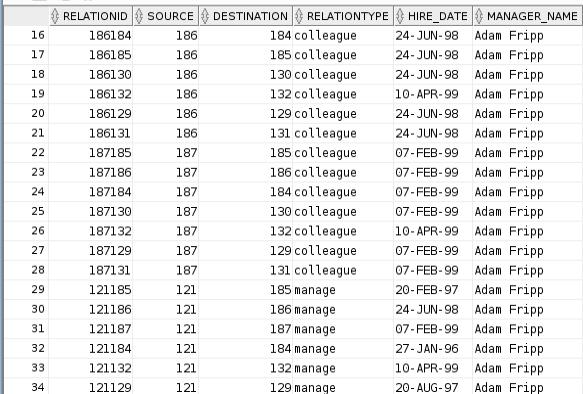
Now we need to write some Java code. We could do Groovy (Java with less pain) or Python (all the cool kids are using it) but the API’s are native to Java so let’s just bite the bullet. If this terrifies you don’t worry, it’s a lot like PLSQL, and you can take the code I give you without understanding anything and still be successful. We are only about one example past HelloWorld so this won’t be too bad. If you maybe never touched Java ever and want a little warm up check this out – https://www.youtube.com/watch?v=xO5DpU2j-WE.
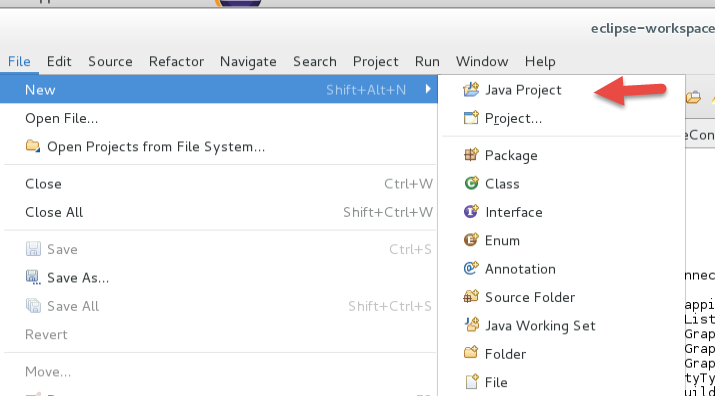
So first thing we do is create a new project in Eclipse
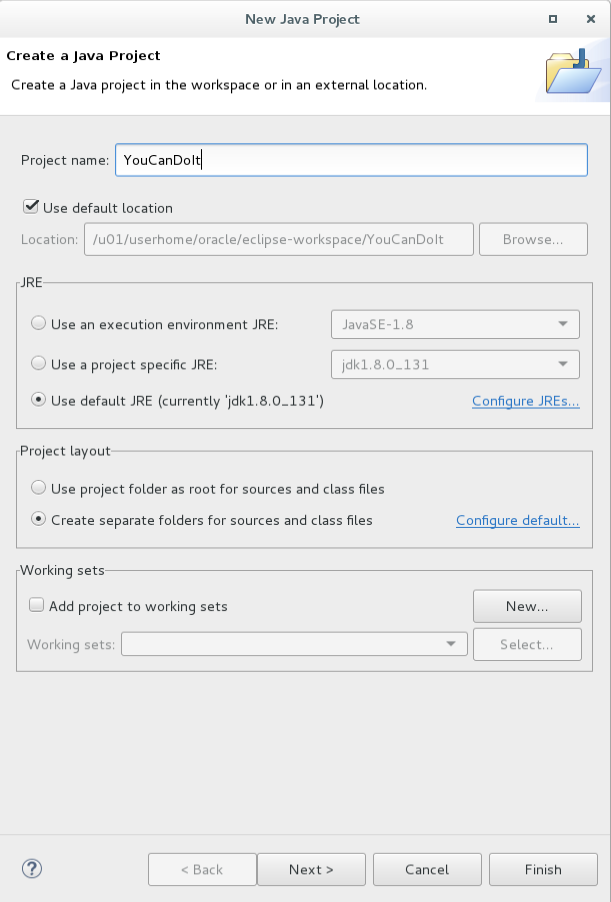
Give it a name and click next –
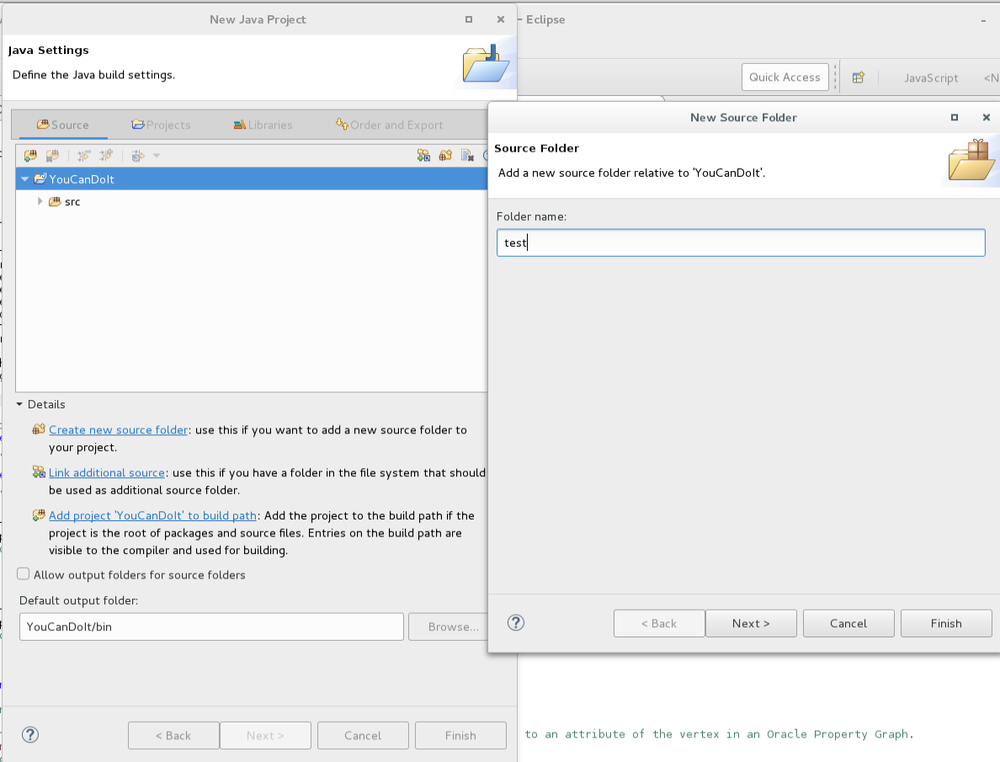
Create a new source folder called test and click finish and then Finish –
You will have a new project –
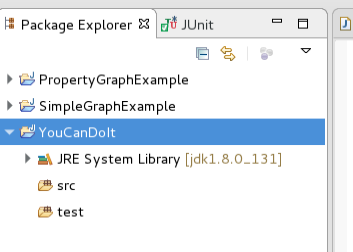
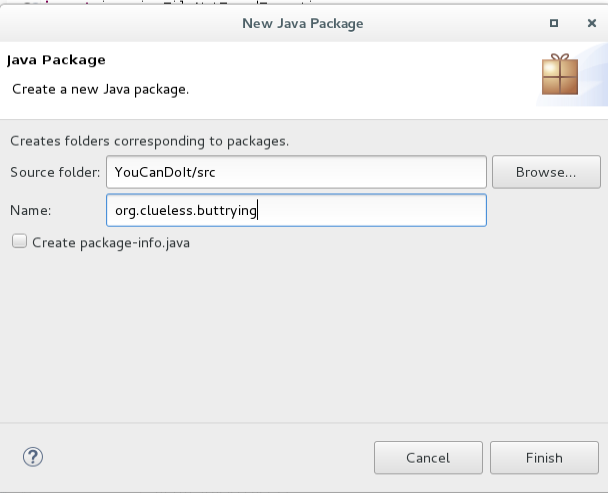
Right click your src folder and select New and Package, name your package and click finish –
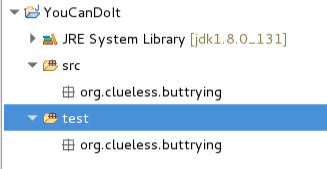
Copy paste package to test folder –
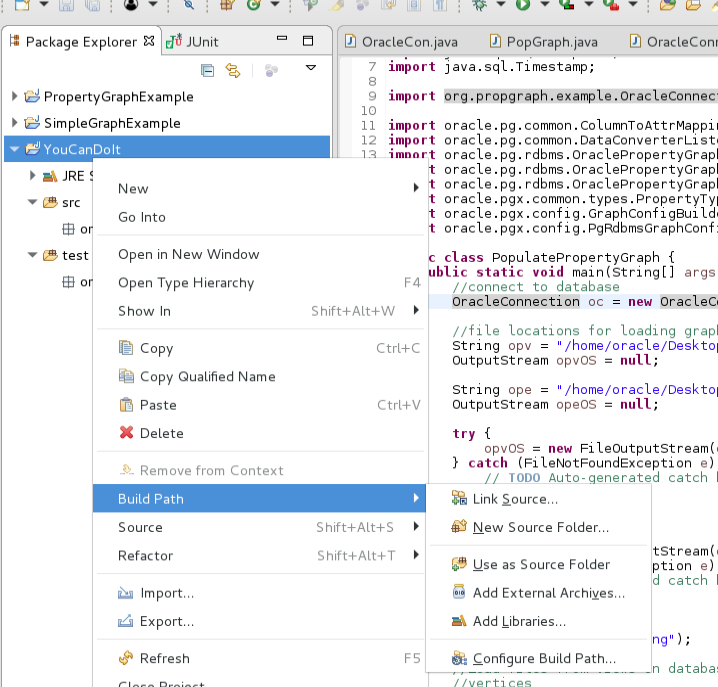
Now right click your project and select BuildPath and Configure Build Path –
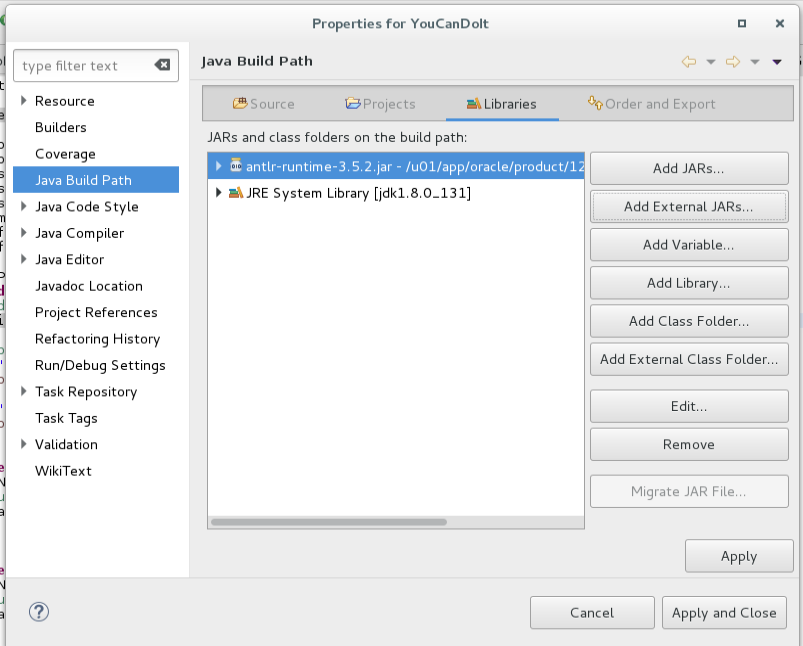
Go to Libraries and Add External Jars –
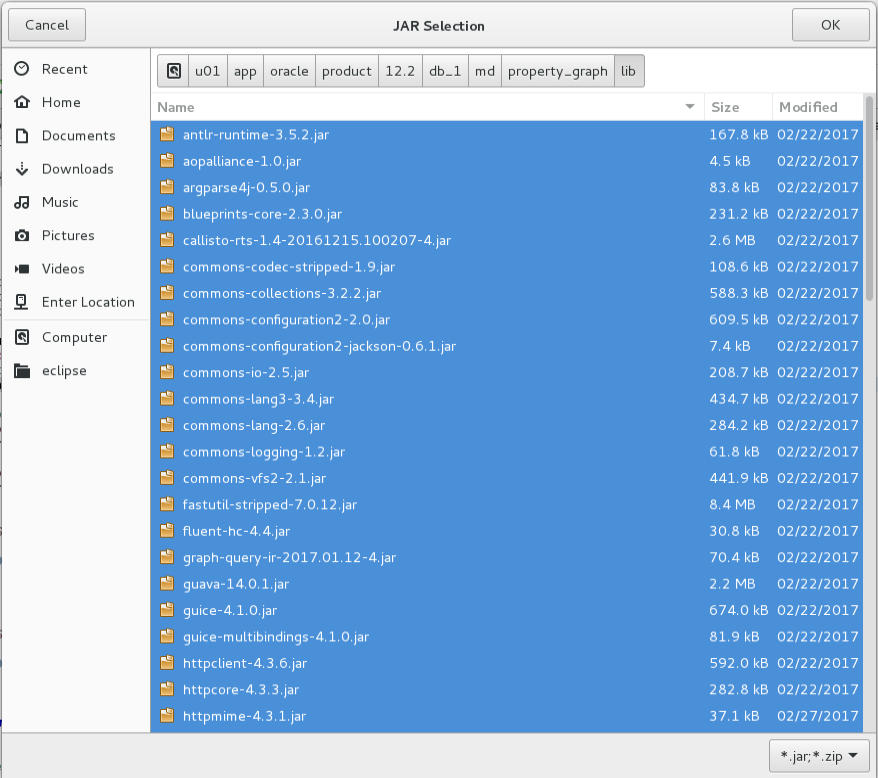
Navigate to the absurdly long path where property graph lives within database file structure and in the spirit of laziness select all jars and click ok –
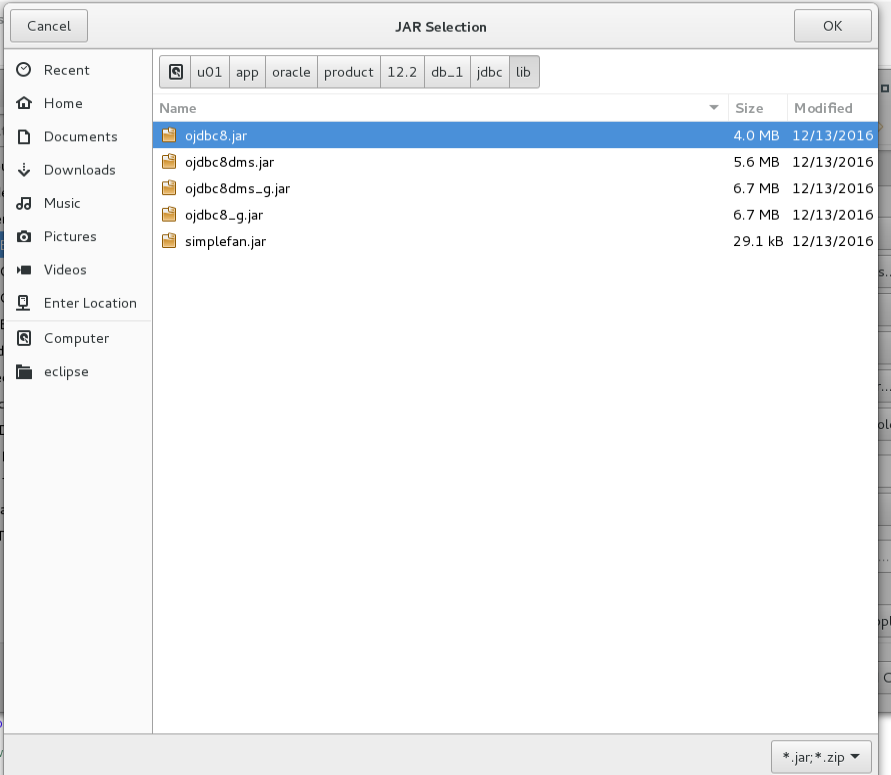
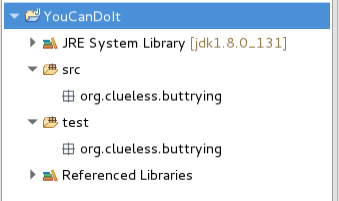
Do the same for the ojdbc jar and click ok and Apply and Close and you should see a Referenced Libraries folder with everything you need –
Now we can add the 2 classes we need to populate our property graph. First we will add a class for connecting to database and a test to make sure it works. So right click your package in the src folder and select new class and give it a clever name and click finish-
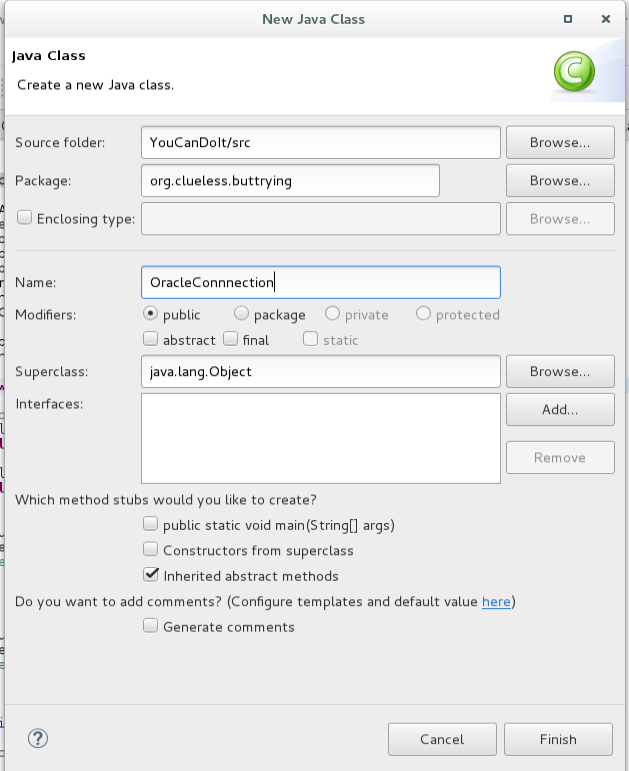
Now we can add our java code and save it–
package org.clueless.buttrying;
import java.sql.*;
public class OracleConnection {
    public Connection con;
    public OracleConnection(String user, String pw) {
        try {
            Class.forName("oracle.jdbc.driver.OracleDriver");
            con=DriverManager.getConnection("jdbc:oracle:thin:@localhost:1521/orcl",user,pw);
        } catch (Exception e) {
            // TODO Auto-generated catch block
            e.printStackTrace();
        }
    }
    public void closeCon() {
        try {
            con.close();
        } catch (SQLException e) {
            // TODO Auto-generated catch block
            e.printStackTrace();
        }
    }
    public ResultSet getResults(String sqlStr) {
         ResultSet rs = null;
        try {
            Statement stmt = con.createStatement();
            //rs=stmt.executeQuery("select EMPLOYEE_ID,LAST_NAME,DEPARTMENT_ID,SALARY  from HR.EMPLOYEES");
            rs=stmt.executeQuery(sqlStr);
         } catch (SQLException e) {
            e.printStackTrace();
        }
        return rs;
    }
}
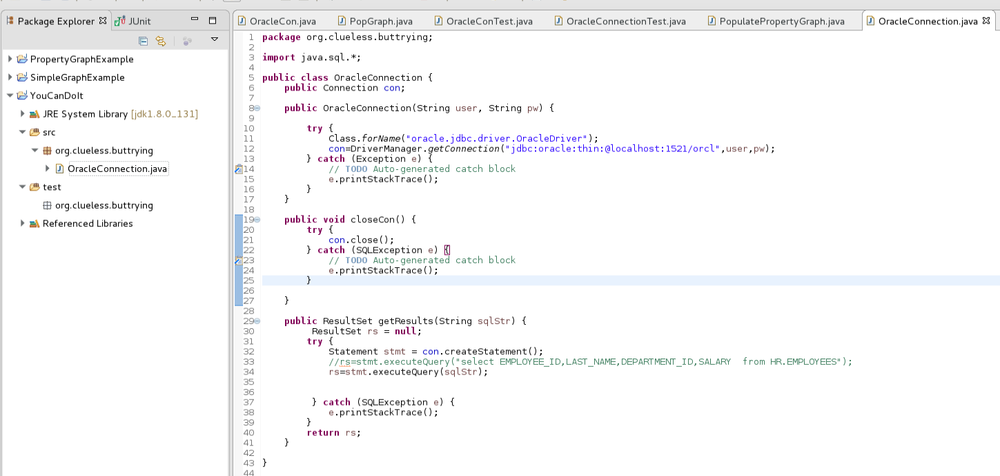
Next we will create a quick test to make sure it works. Right click your class and select new Junit Test Case –
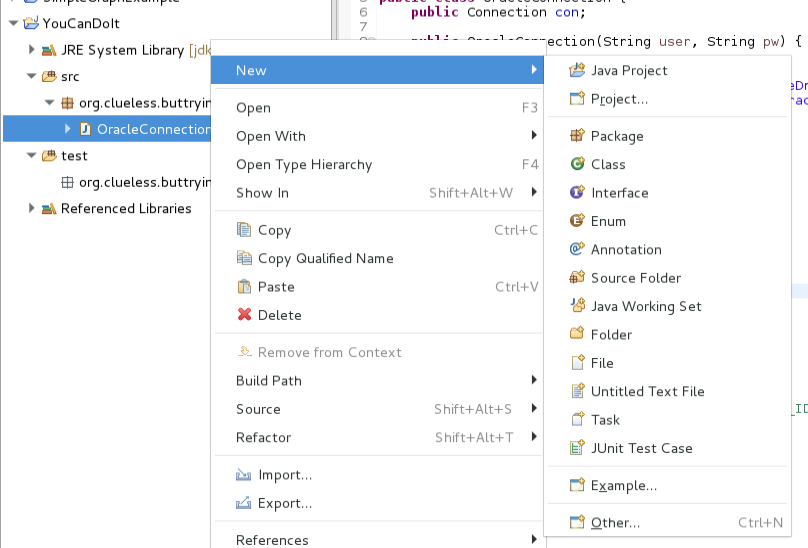
Change source folder to test and click next –
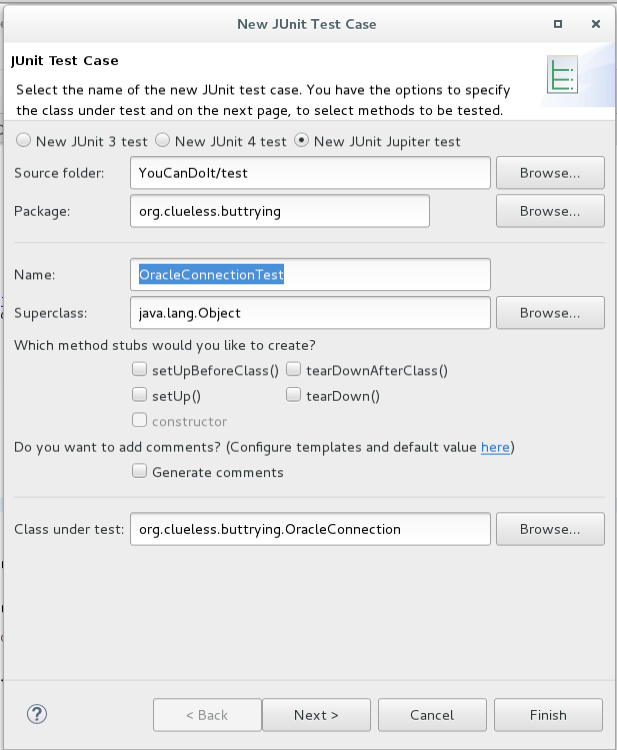
Select next and check Oracle Connection and getResults and click finish (say yes to add Junit to build path)–
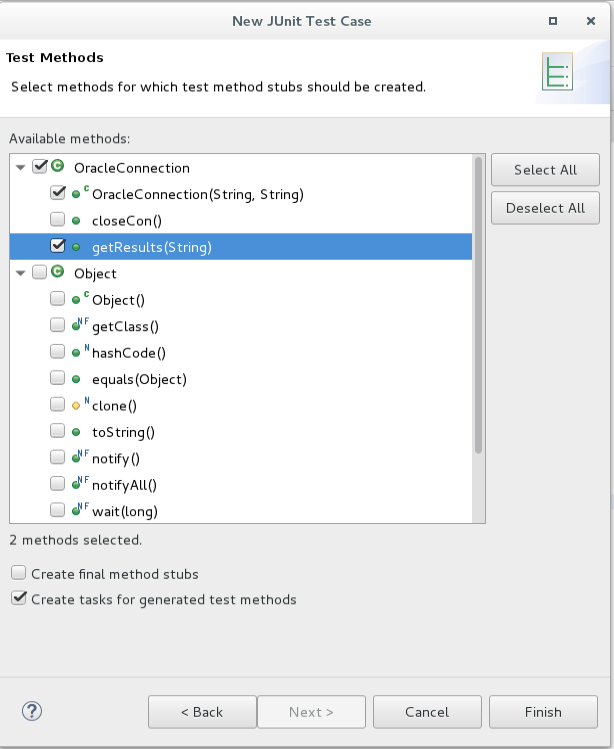
This will create a test class and we can add our test to it like so –
package org.clueless.buttrying;
import static org.junit.jupiter.api.Assertions.*;
import java.sql.Connection;
import java.sql.ResultSet;
import java.sql.SQLException;
import org.junit.jupiter.api.Test;
import org.clueless.buttrying.OracleConnection;
class OracleConnectionTest {
    @Test
    void testOracleConnection() {
        OracleConnection oc = new OracleConnection("scott","tiger");
        assertTrue(oc.con instanceof Connection);
        oc.closeCon();
    }
    @Test
    void testGetResults() {
        OracleConnection oc = new OracleConnection("scott","tiger");
        String sqlStr="select EMPLOYEE_ID,LAST_NAME,DEPARTMENT_ID,SALARY  from HR.EMPLOYEES where EMPLOYEE_ID=100";
        ResultSet rss = oc.getResults(sqlStr);
        int emplID = 0;
            try {
                while(rss.next())
                    emplID=rss.getInt(1);
            } catch (SQLException e) {
                // TODO Auto-generated catch block
                e.printStackTrace();
            }
            assertEquals(100,emplID);
            oc.closeCon();
    }
}
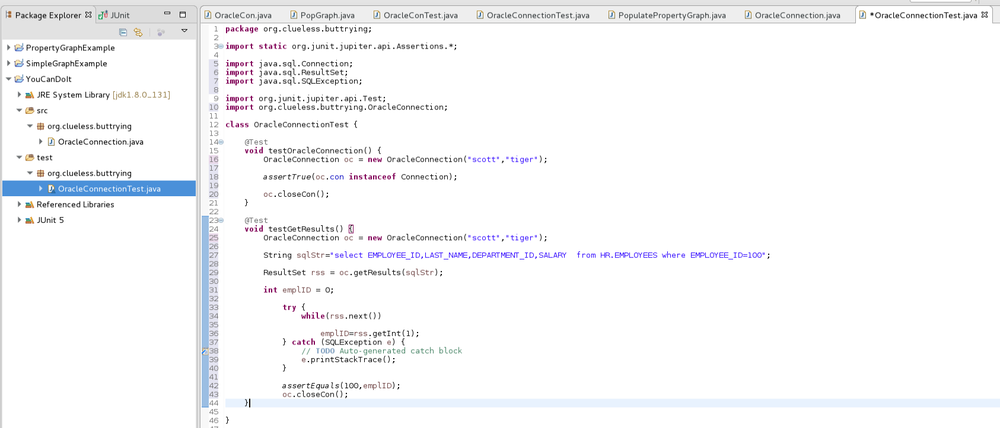
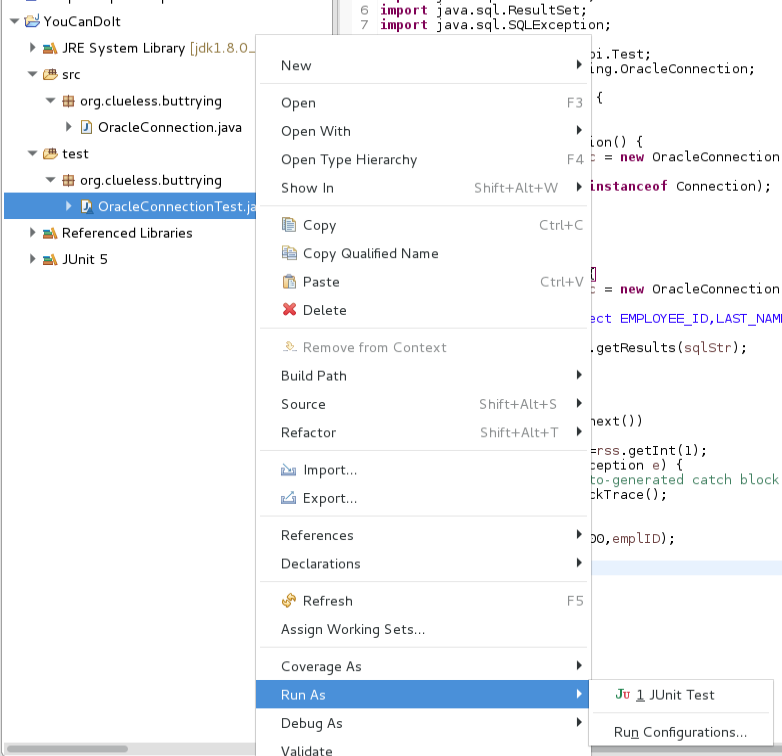
Now we can run our test and prove it works by right clicking and select Run As Junit Test –
If the Java gods like you and my instructions aren’t to awful you should have a successful test like so –
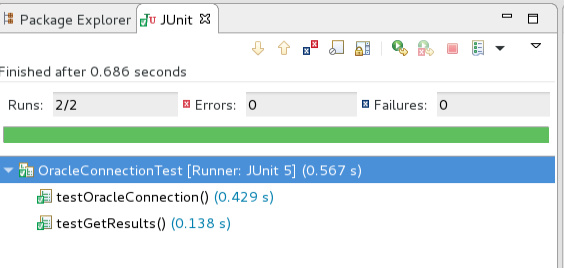
If you have never written Java then you may now proudly declare I are Java Programmer. If you have written Java you can point out all the stuff I did wrong but I don’t care because it works.
Now we are ready to populate our property graph by writing one more class. I promise we are close. So now we create one more new class in our source folder and once again give it a clever name –
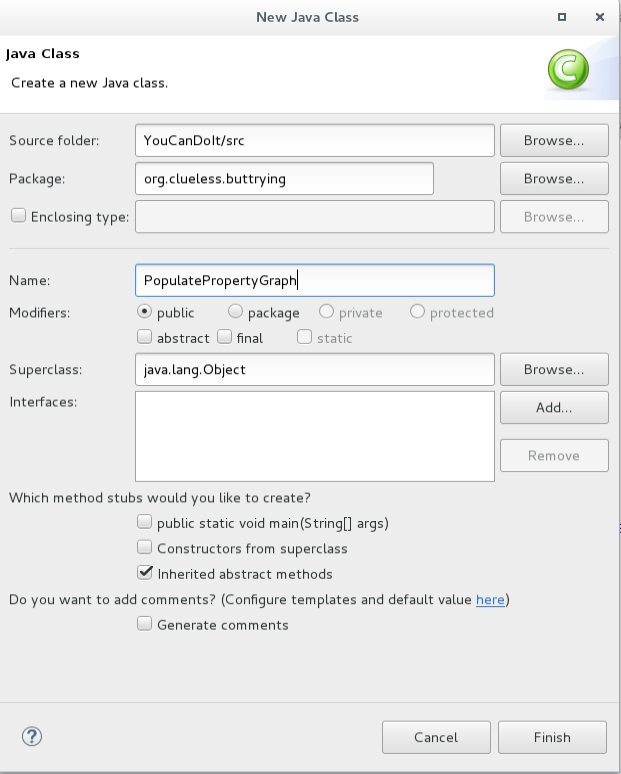
This is coming straight out of the documentation with the necessary tweaks to make it work. I used code from –
2.11.6 Converting an Oracle Database Table to an Oracle-Defined Property Graph Flat File
2.5.2.1 JDBC-Based Data Loading
Our class ends up looking like this (you would need to create a panama folder on the Desktop for the opv and ope defintions to work) –
package org.clueless.buttrying;
import java.io.FileNotFoundException;
import java.io.FileOutputStream;
import java.io.OutputStream;
import java.sql.SQLException;
import java.sql.Timestamp;
import org.clueless.buttrying.OracleConnection;
import oracle.pg.common.ColumnToAttrMapping;
import oracle.pg.common.DataConverterListener;
import oracle.pg.rdbms.OraclePropertyGraph;
import oracle.pg.rdbms.OraclePropertyGraphDataLoader;
import oracle.pg.rdbms.OraclePropertyGraphUtils;
import oracle.pgx.common.types.PropertyType;
import oracle.pgx.config.GraphConfigBuilder;
import oracle.pgx.config.PgRdbmsGraphConfig;
public class PopulatePropertyGraph {
    public static void main(String[] args) {
        //connect to database
        OracleConnection oc = new OracleConnection("scott","tiger");
        //file locations for loading graph
        String opv = "/home/oracle/Desktop/panama/EmployeeTab.opv";
        OutputStream opvOS = null;
        String ope = "/home/oracle/Desktop/panama/EmpRelationTab.ope";
        OutputStream opeOS = null;
        try {
            opvOS = new FileOutputStream(opv);
        } catch (FileNotFoundException e) {
            // TODO Auto-generated catch block
            e.printStackTrace();
        }
        try {
            opeOS = new FileOutputStream(ope);
        } catch (FileNotFoundException e) {
            // TODO Auto-generated catch block
            e.printStackTrace();
        }
        System.out.println("working");
        //Load files from views on database
        //vertices
        // an array of ColumnToAttrMapping objects; each object defines how to map a column in the RDBMS table to an attribute of the vertex in an Oracle Property Graph.
        ColumnToAttrMapping[] ctams = new ColumnToAttrMapping[5];
        // map column "hasName" to attribute "name" of type String
        ctams[0] = ColumnToAttrMapping.getInstance("full_name", "name", String.class);
        // map column "hasAge" to attribute "age" of type Integer
        ctams[1] = ColumnToAttrMapping.getInstance("department_name", "dept", String.class);
        // map column "hasSalary" to attribute "salary" of type Double
        ctams[2] = ColumnToAttrMapping.getInstance("salary", "salary",Double.class);
        // map column "hasSalary" to attribute "salary" of type Double
        ctams[3] = ColumnToAttrMapping.getInstance("manager_name", "mname",String.class);
        ctams[4] = ColumnToAttrMapping.getInstance("job_title", "title",String.class);
        // convert RDBMS table "EmployeeTab" into opv file "./EmployeeTab.opv", column "empID" is the vertex ID column, offset 1000l will be applied to vertex ID, use ctams to map RDBMS columns to attributes, set DOP to 8
        OraclePropertyGraphUtils.convertRDBMSTable2OPV(oc.con, "employees", "employee_id", 1000l, ctams, 8, opvOS, (DataConverterListener) null);
        //edges
        // an array of ColumnToAttrMapping objects; each object defines how to map a column in the RDBMS table to an attribute of the edge in an Oracle Property Graph.
        ColumnToAttrMapping[] ctams2 = new ColumnToAttrMapping[2];
        // map column "startDate" to attribute "since" of type Date
        ctams2[0] = ColumnToAttrMapping.getInstance("hire_date", "since",Timestamp.class);
        ctams2[1] = ColumnToAttrMapping.getInstance("manager_name", "mname",String.class);
        // convert RDBMS table “EmpRelationTab" into ope file “./EmpRelationTab.opv", column “relationID" is the edge ID column, offset 10000l will be applied to edge ID, the source and destination vertices of the edge are defined by columns “source" and “destination", offset 1000l will be applied to vertex ID, the RDBMS table has an column “relationType" to be treated as edge labels, use ctams to map RDBMS columns to edge attributes, set DOP to 8
        OraclePropertyGraphUtils.convertRDBMSTable2OPE(oc.con, "employeeRelation", "relationID", 10000l, "source", "destination", 1000l, true, "relationType", ctams2, 8, opeOS, (DataConverterListener) null);
        oc.closeCon();
        //create graph with properties and edges
        PgRdbmsGraphConfig cfg = GraphConfigBuilder.forPropertyGraphRdbms().setJdbcUrl("jdbc:oracle:thin:@127.0.0.1:1521/orcl")
                .setUsername("scott").setPassword("tiger")  .setName("SECOND_PG") .setMaxNumConnections(8)
                .setLoadEdgeLabel(true)
                .addVertexProperty("name", PropertyType.STRING, "default_name")
                .addVertexProperty("mname", PropertyType.STRING, "default_name")
                .addVertexProperty("dept", PropertyType.INTEGER, 0)
                .addVertexProperty("salary", PropertyType.DOUBLE, 0)
                .setUseVertexPropertyValueAsLabel("dept")
                .setUseVertexPropertyValueAsLabel("salary")
                .setUseVertexPropertyValueAsLabel("mname")
                .addEdgeProperty("since", PropertyType.DATE)
                .addEdgeProperty("mname", PropertyType.STRING)
                .build();
        OraclePropertyGraph opg = null;
        try {
            opg = OraclePropertyGraph.getInstance(cfg);
        } catch (SQLException e) {
            // TODO Auto-generated catch block
            e.printStackTrace();
        }
        try {
            opg.clearRepository();
        } catch (SQLException e) {
            // TODO Auto-generated catch block
            e.printStackTrace();
        }
        //Load graph with files
        OraclePropertyGraphDataLoader opgdl = OraclePropertyGraphDataLoader.getInstance();
        opgdl.loadData(opg, opv, ope, 2, 10000, true, null);
        //opgdl.loadData(opg, opv2, ope2, 2, 10000, true, null);
        System.out.println("Done");
    }
}
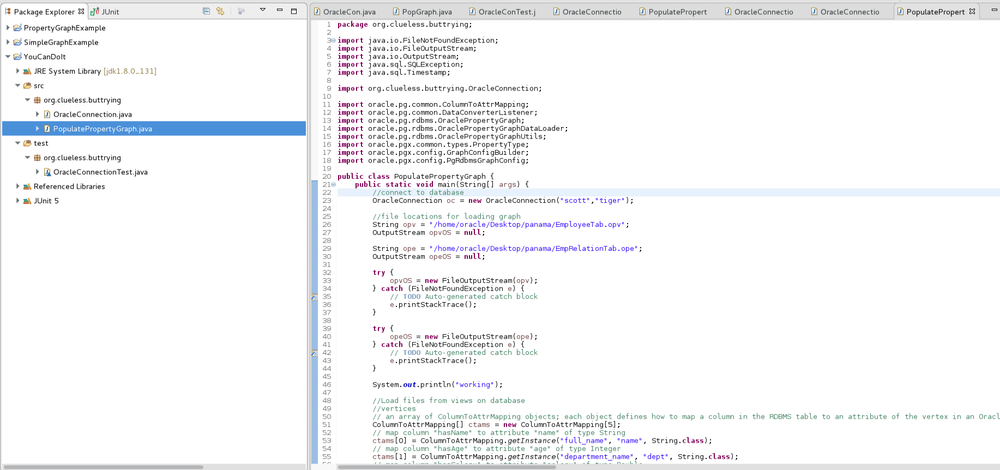
Add now we can run it as a Java Application (I named my graph THIRD_PG instead of SECOND_PG when I ran it)-
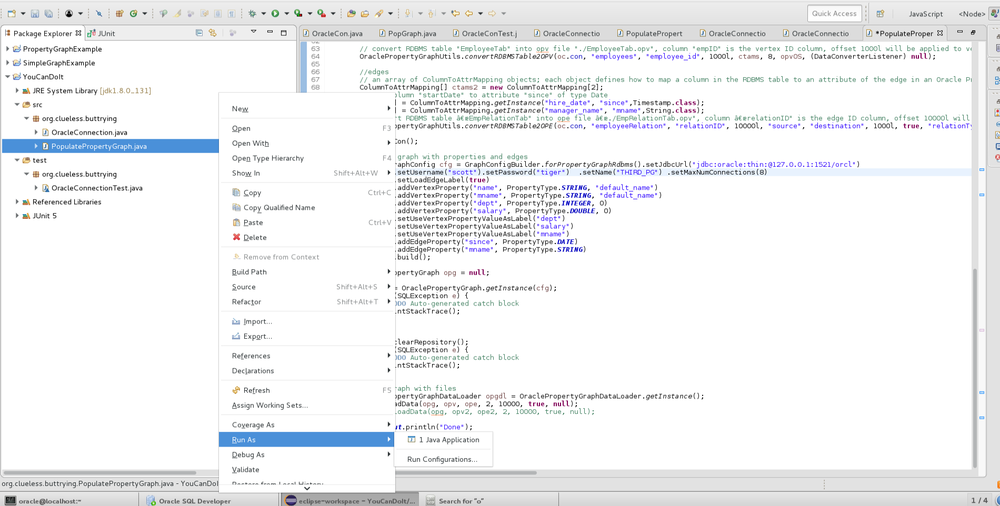
You should see a console that looks like this –

The ultimate proof of whether we are successful will be if the tables for the graph have been created in the database and been populated –
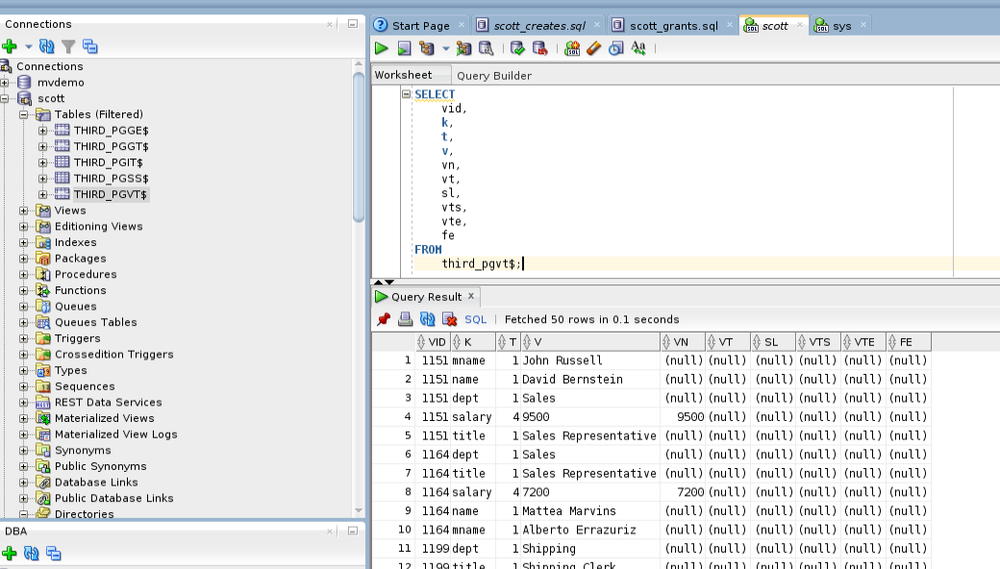
Now that we know our property graph exists we can connect to it with Cytoscape. So I will assume you have successfully followed the directions for setting up the Cytoscape app that are in the Users Guide. We want to use PGQL so we will start the PGX server on the database before we jump into Cytoscape. Navigate to where it lives and open in terminal and run the start-server script –

Then run the startCytoscape script –
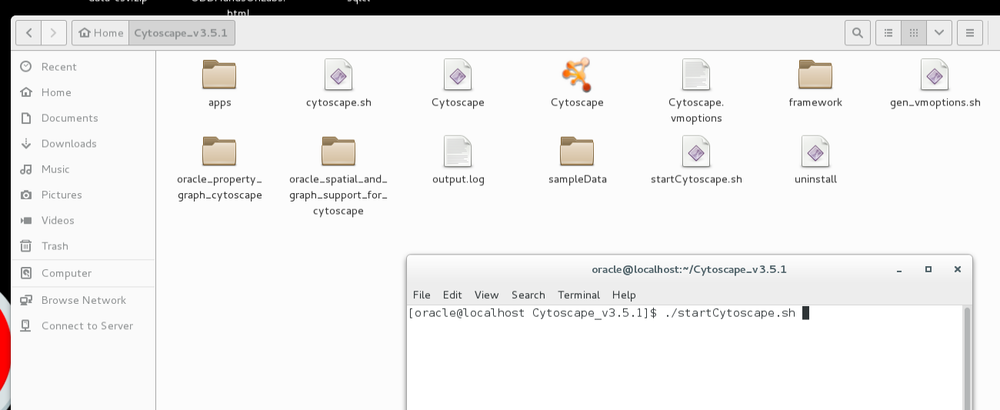
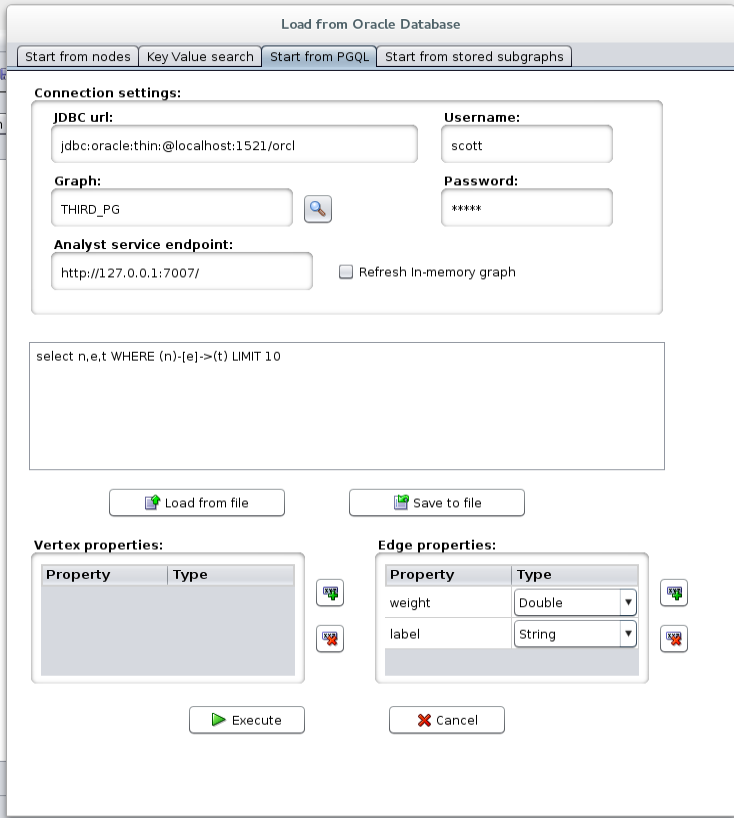
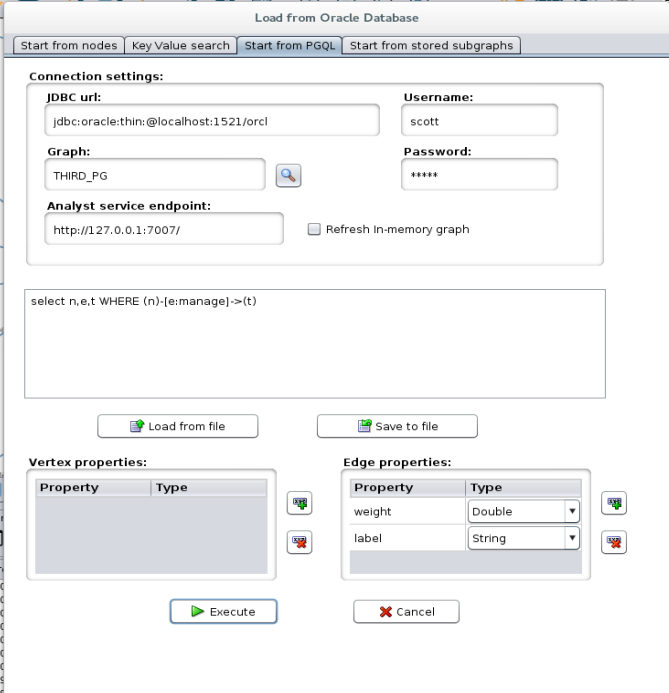
Now we can finally visualize our property graph! Select File->Load Property Graph-> Connect to Oracle Database and select the Start from PGQL tab.
https://docs.oracle.com/cd/E56133_01/1.2.0/PGQL_Specification.pdf
Your settings should look like so (remember the name of your graph) –
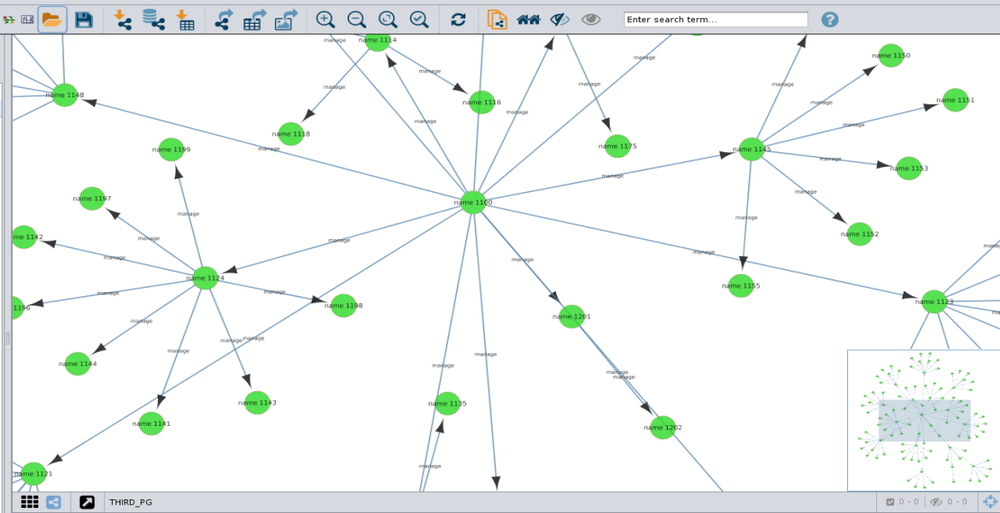
You should get a graph that looks like this –
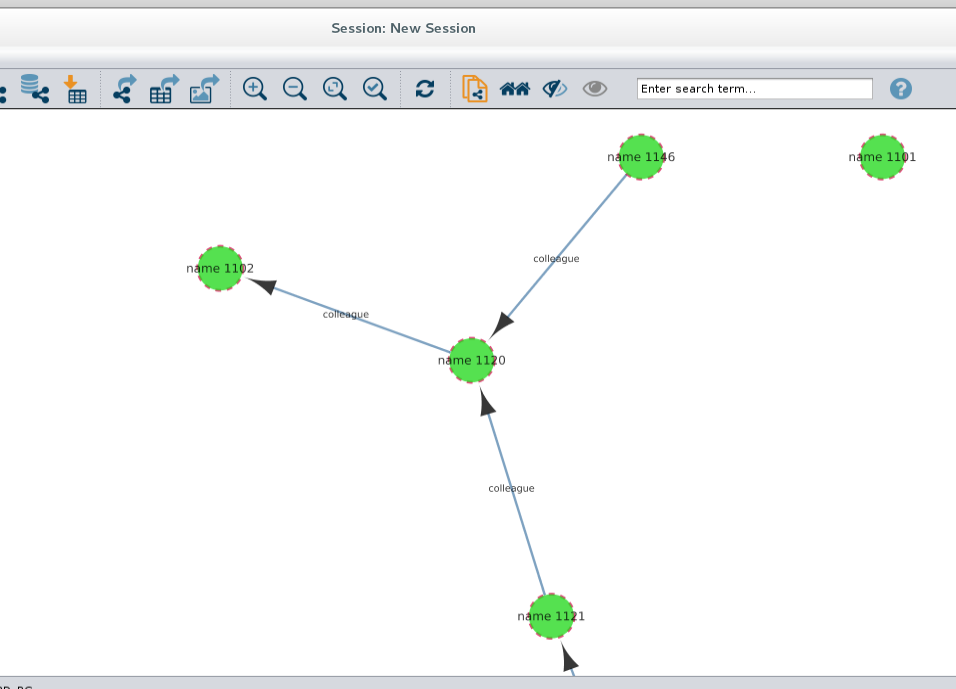
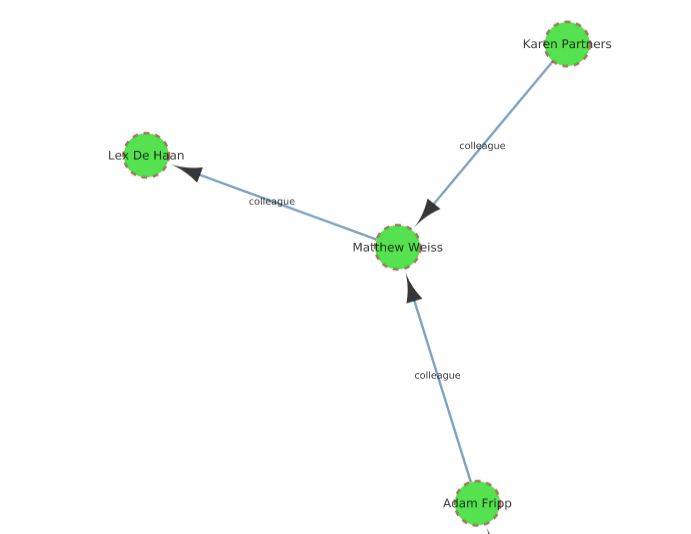
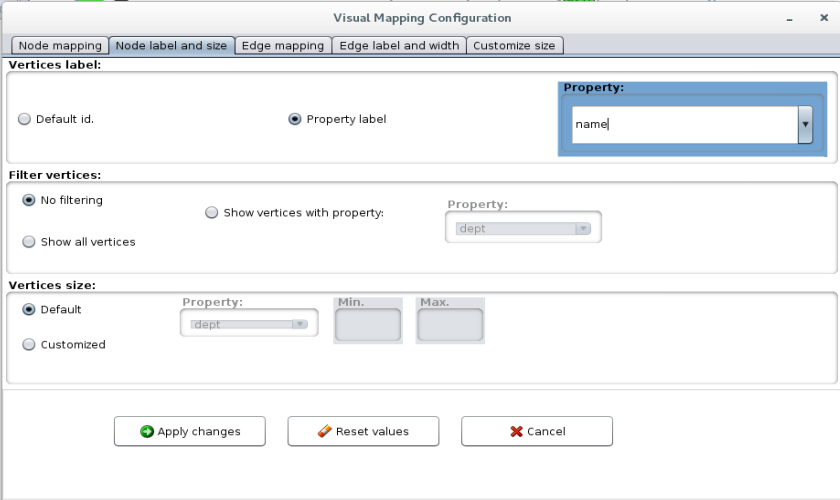
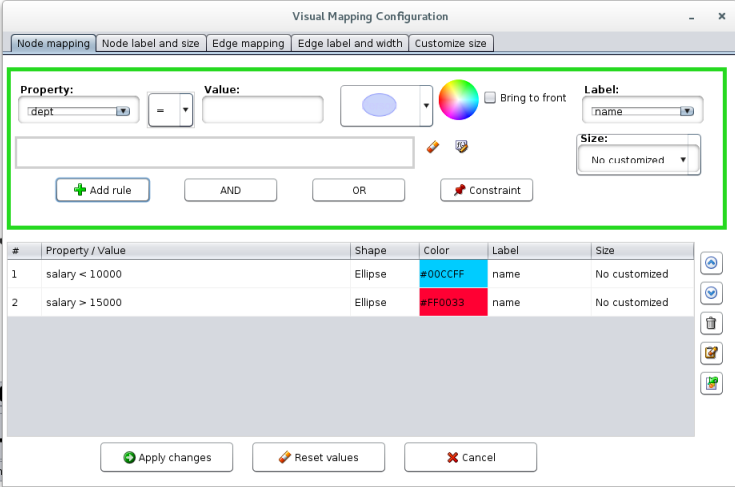
Next we can actually add some labels that make sense by clicking on the Define visual mapping rules –
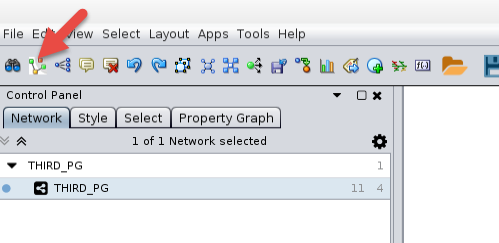
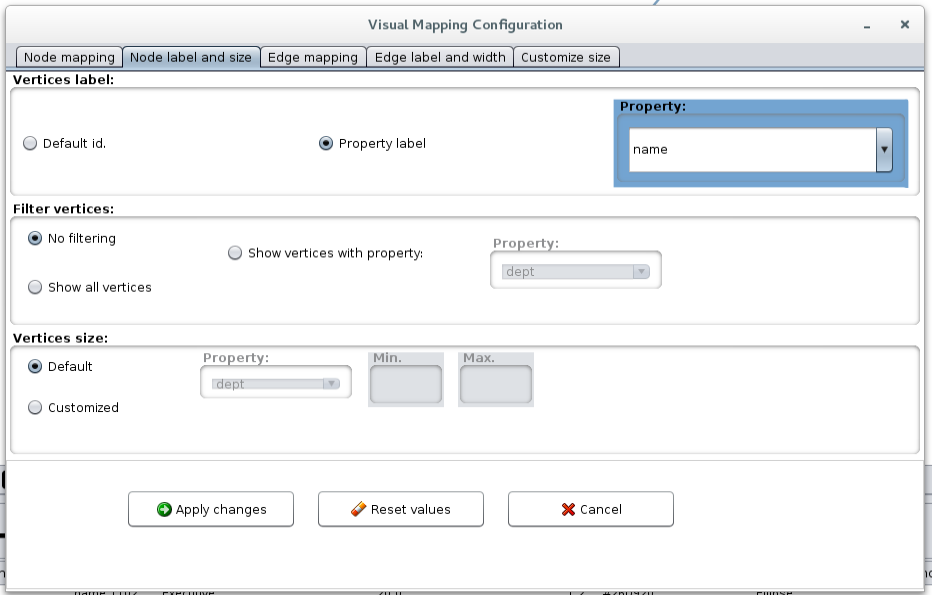
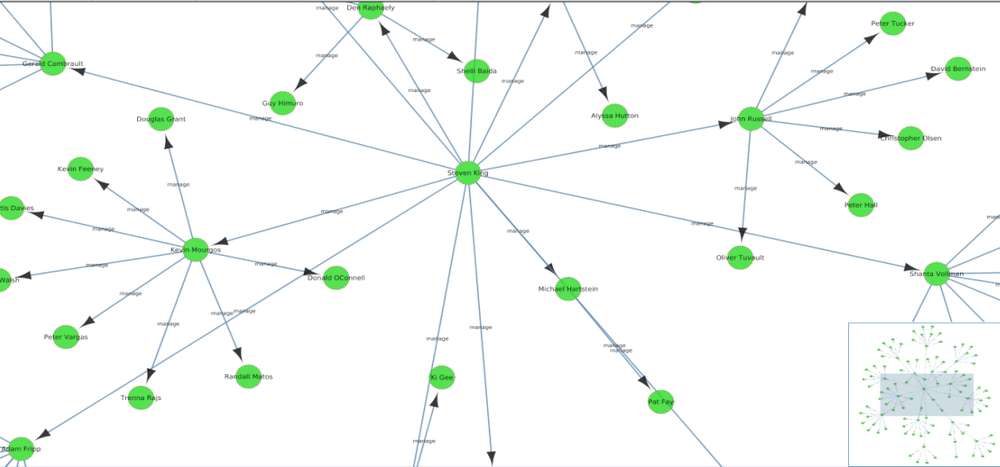
This should give us a graph with employee names labeling the nodes –
Now we can dive into trying to understand how PGQL works. PGQL stands for Property Graph Query Language, and it’s basically SQL for property graphs, enabling elegant and intuitive queries specifically for graph analysis. The PGQL specification (supported by Oracle RDBMS as of the time of this writing) helps a great deal – https://docs.oracle.com/cd/E56133_01/1.2.0/PGQL_Specification.pdf
Looking at the basic query we executed above –
select n,e,t WHERE (n)-[e]->(t) LIMIT 10
In our query, the pattern () denotes a node
[] denotes an edge
And -[]-> denotes an edge between nodes and the direction with the LIMIT clause limiting our result set.
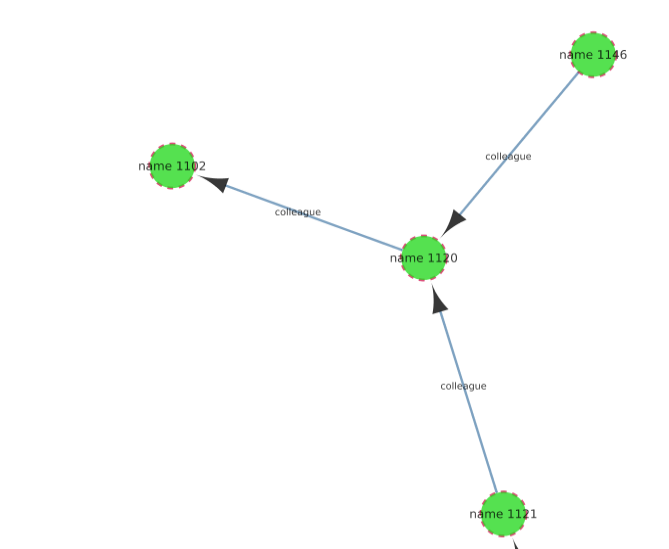
Names don’t matter so if we issue the following
select Fred,Barney,Dino WHERE (Fred)-[Barney]->(Dino) LIMIT 10
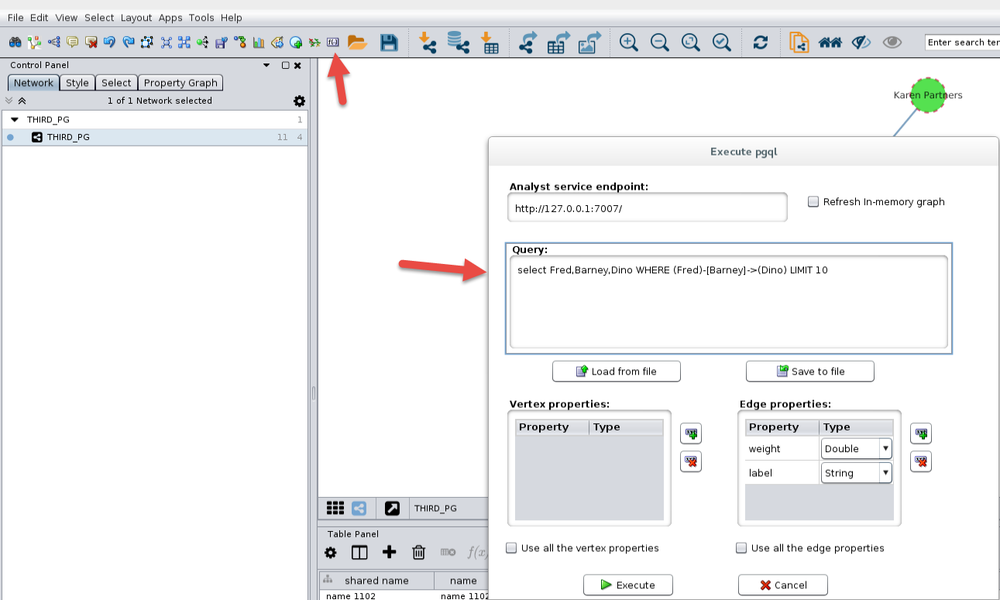
We get the same results as we had initially –
We can also set predicates for the edge label –
select n,e,t WHERE (n)-[e:manage]->(t)
This gives us a graph of managers and their employees
We can then change labels to name so we know who we are looking at
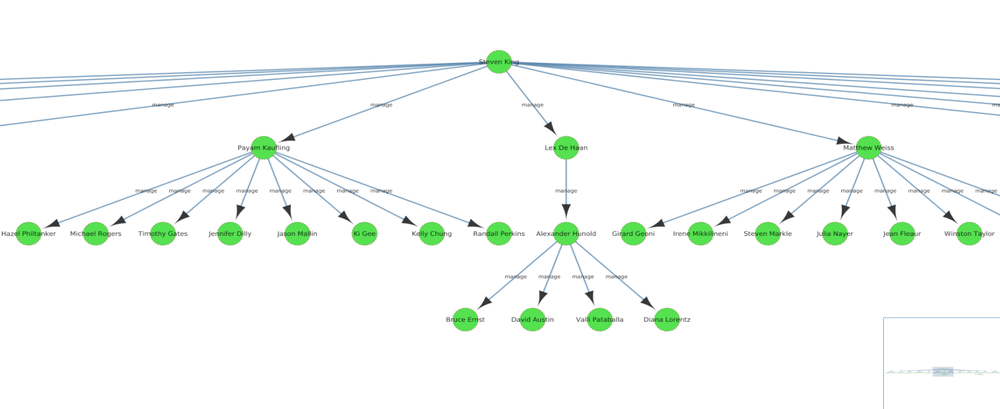
Then we can organize our graph in tree layout to show the structure of the organization
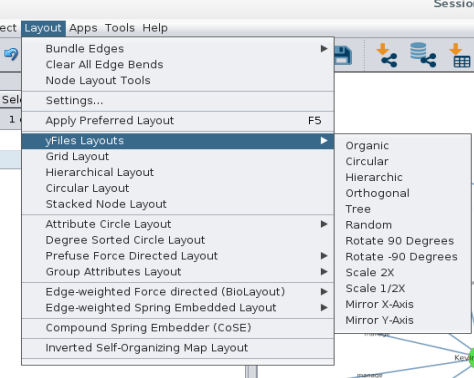

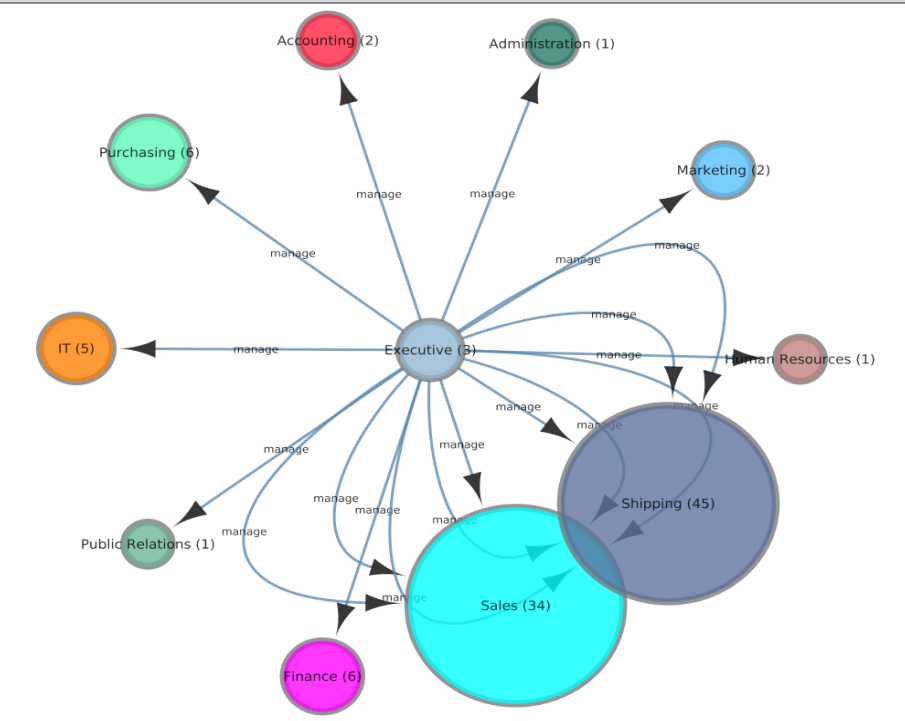
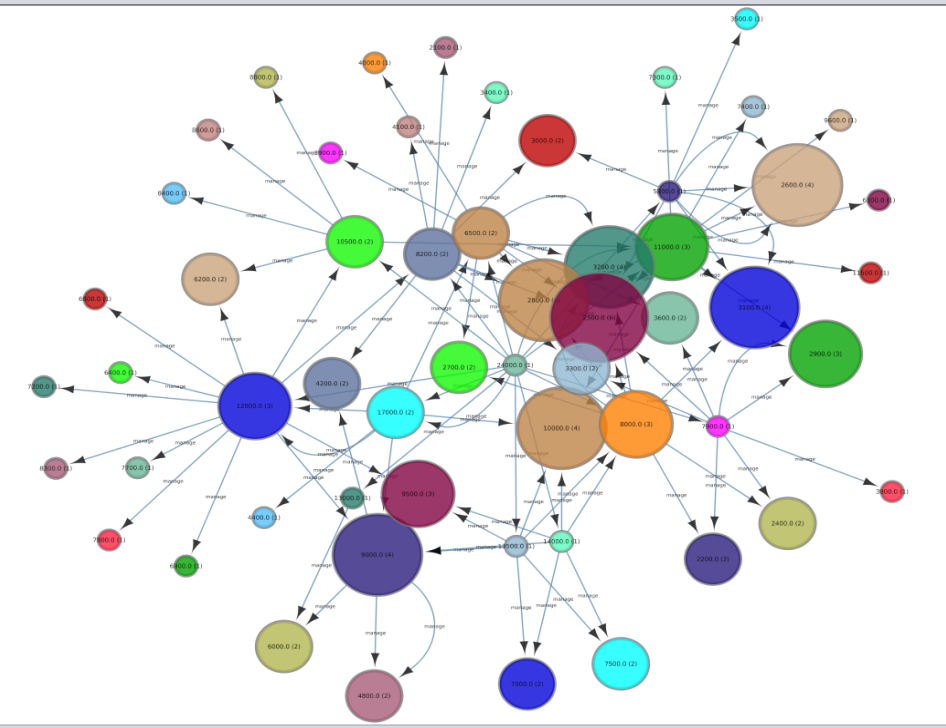
We can also do some grouping by properties

We can also use filters in PGQL, so if we only want to see nodes that have a manager of Steven King we could write –
select n,e,t where (n with name=’Steven King’)-[e:manage]->(t)
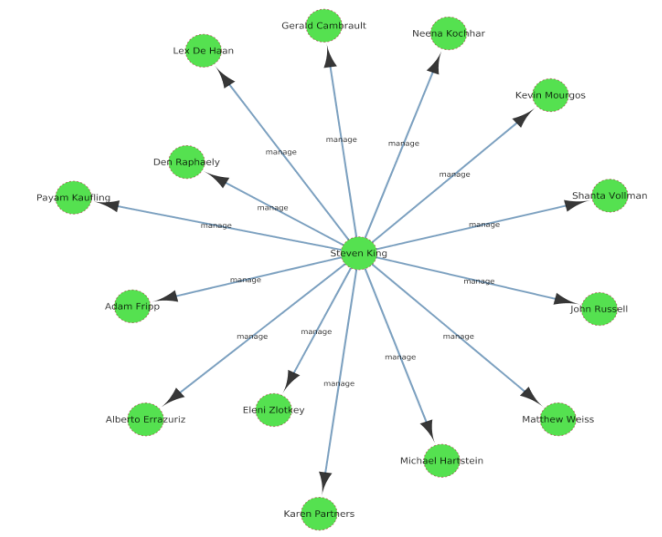
Or if we want to see all employees and their managers with a salary greater than $5000 we can use
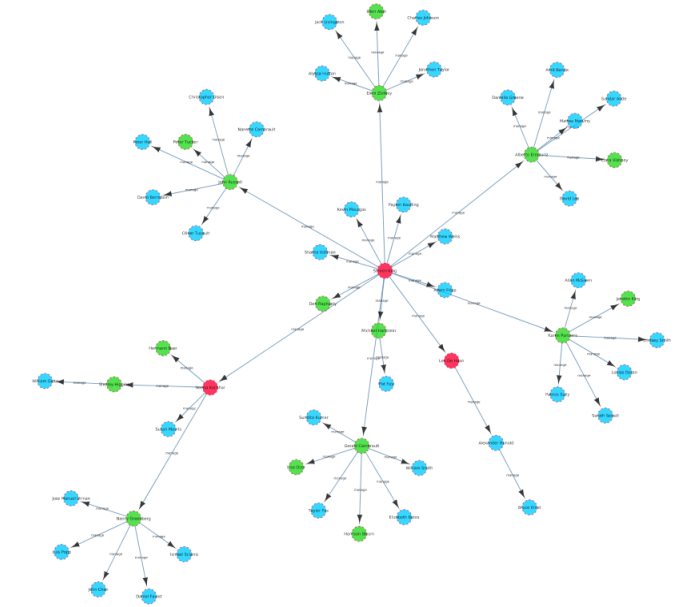
select n,e,t where (n)-[e:manage]->(t with salary >5000)
and combine it with some formatting rules
To produce –
Hopefully this helps get you started with creating property graphs on the Oracle Database and using PGQL and the Cytoscape App.


